Audio and Video Production Overview

Image
Preview monitor on a video camera during on-location production. Photo David B. Hollingsworth/ODU

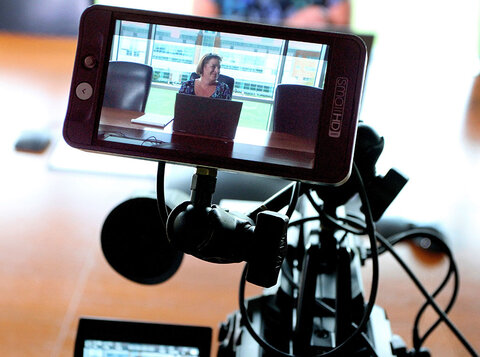
Complex topics are sometimes easier to communicate in a different medium. Video can be useful for visual demonstrations, simulations, case studies, or scenarios. Audio recordings can be a good medium to share narrations, interviews, or podcasts.

During a course development project with Digital Innovation, faculty developers meet with our staff to identify and produce video, audio, and other multimedia components that will enhance their online teaching effectiveness and student learning outcomes. 

The following information is a general description of the audio and video production process. 

Begin by reviewing your learning objectives and content to find opportunities where multimedia can enhance your content and improve student learning.

Choose video and audio creation tools that suit your needs and your technical expertise, such as screen recording software or lecture capture systems.

  • Develop a storyboard or script that outlines the structure, flow, and content of the video or audio. 
  • Design or find visually appealing multimedia components that enhance comprehension. Use appropriate colors, fonts, and visual elements to create a cohesive look. 
  • Break down complex concepts into smaller, digestible chunks. 
  • Integrate interactive elements, such as embedded quizzes (Kaltura), to actively engage students and promote deeper understanding. 
  • Ensure that multimedia components are accessible to all learners. Machine-generated captions must be manually checked and corrected. Provide closed captions or transcripts for videos, alternative text for images, and ensure compatibility with assistive technologies. 

Before you start recording, practice your script! Speak it out loud to yourself or a colleague, or make practice recordings with your smartphone or laptop. This can help you:

  • find natural breaks in the narration to chunk content;
  • practice your pacing (not speaking too fast);
  • rephrase complicated sequences for better comprehension; and
  • become comfortable being recorded.

Remember, recordings rarely happen in one take. Expect to record your content several times until you are satisfied with the results. The final recording that you use in class will likely be a combination of separate recordings and multimedia elements.

  • Record video content using appropriate equipment. Cell phone video or audio is fine for practice but not for your final production.
  • Reduce ambient noise by using a high quality microphone. Record in a quiet room with minimal outside noises. Some software can help remove background noise or improve audio clarity. 
  • Trim or rearrange recorded segments as needed for length, clarity, and coherence.
  • If images, diagrams, or other graphics will help explain your content, add these in the appropriate video segments.